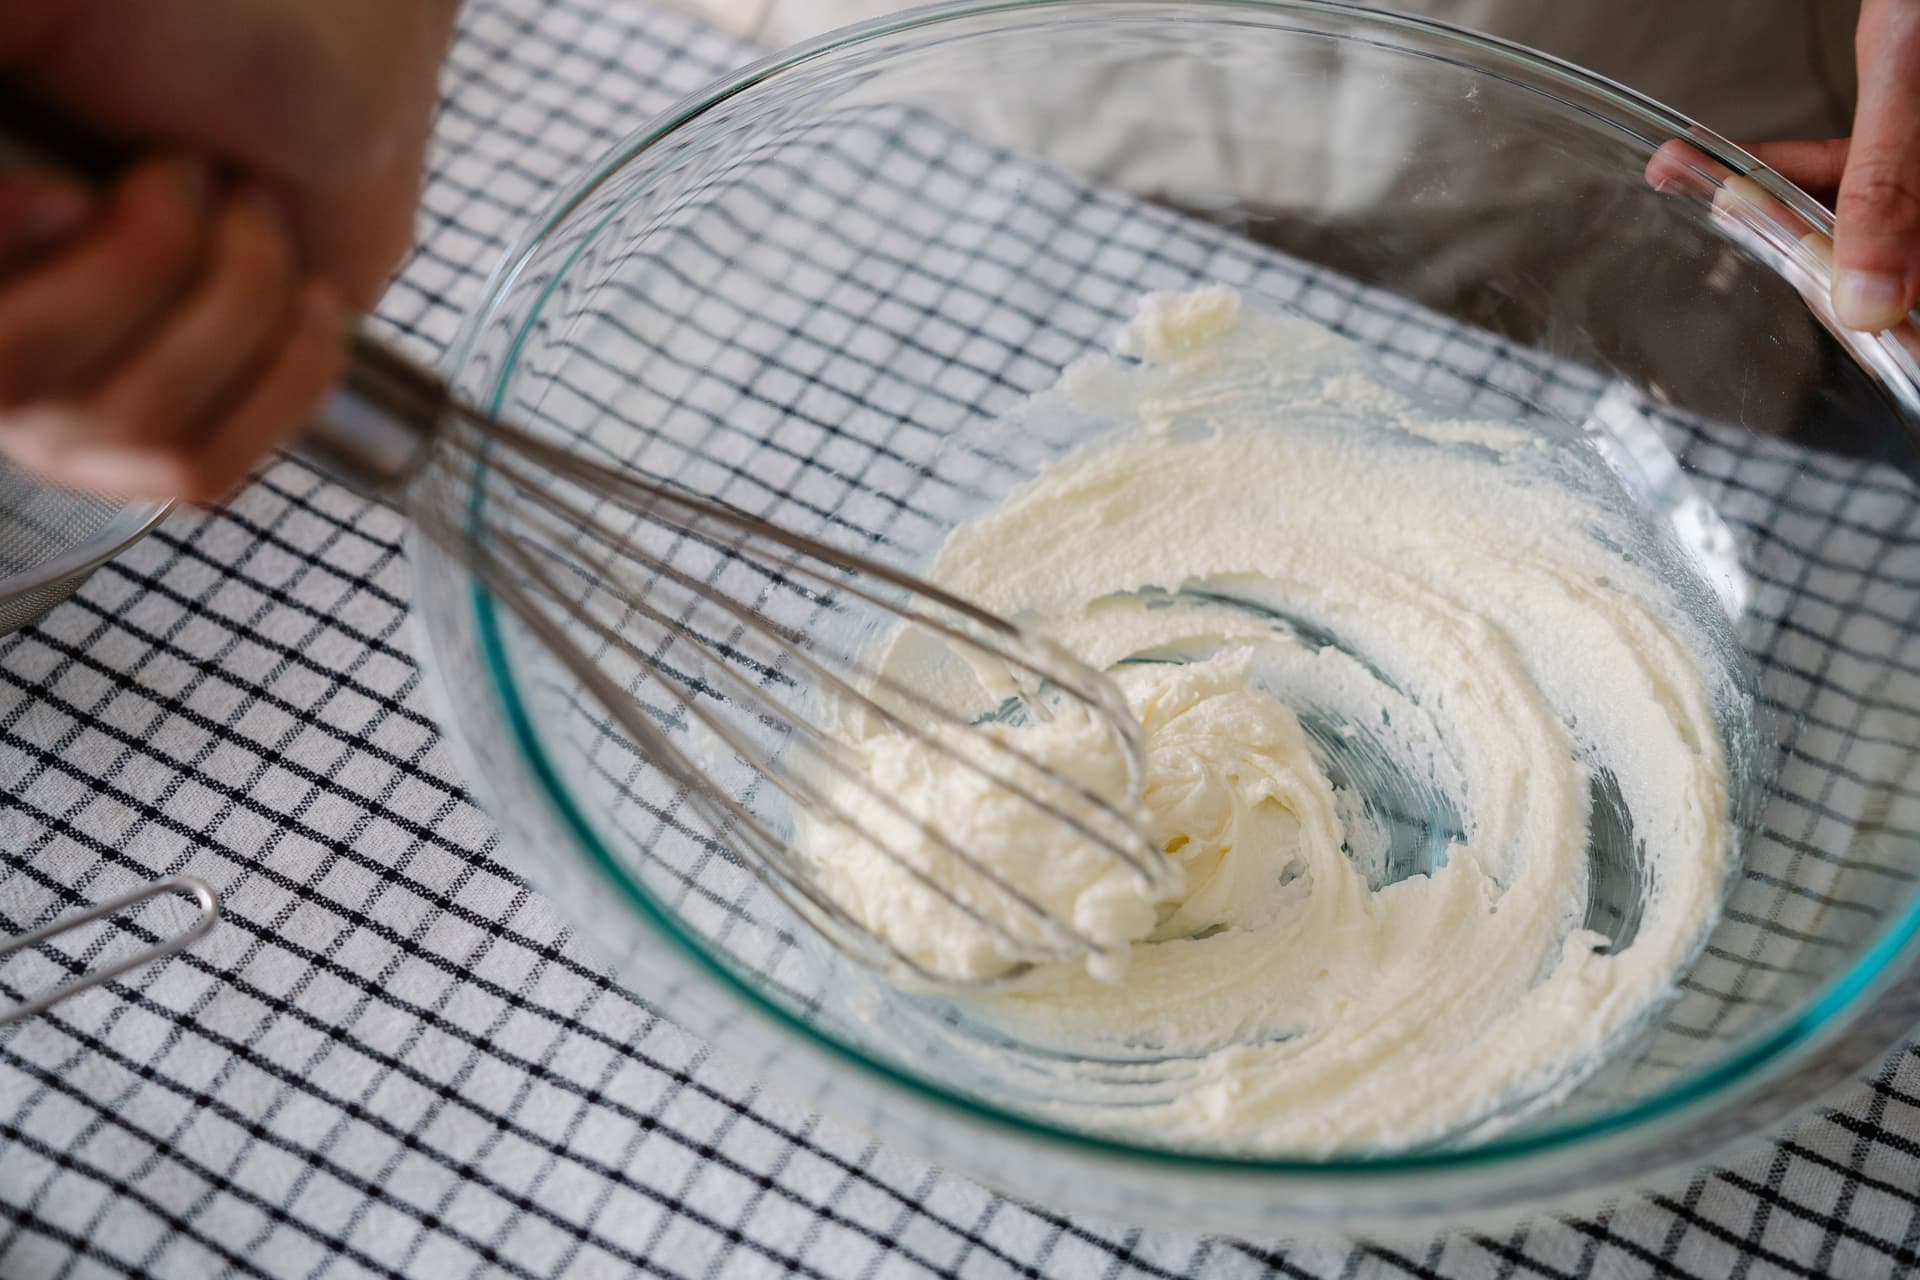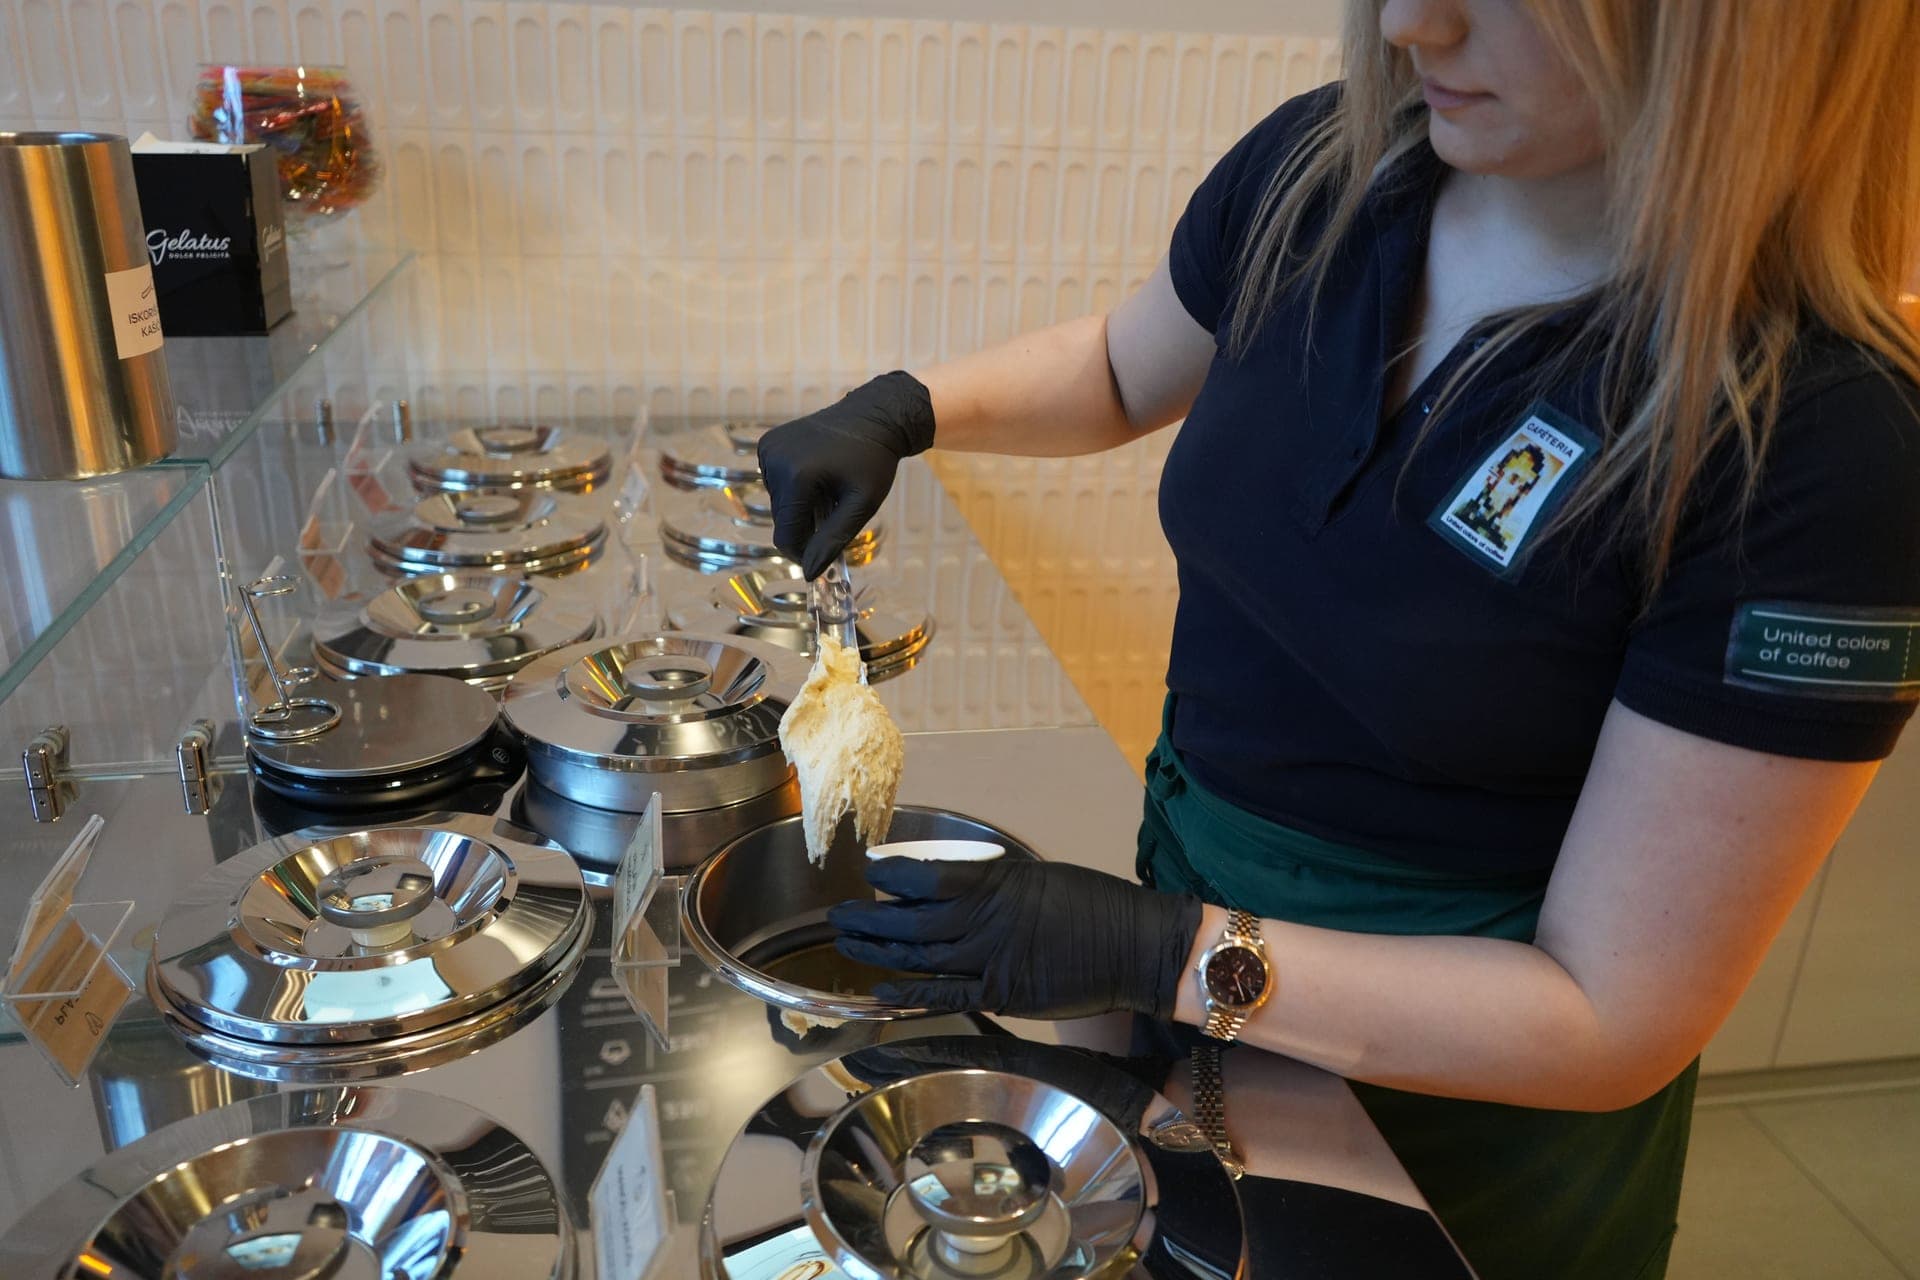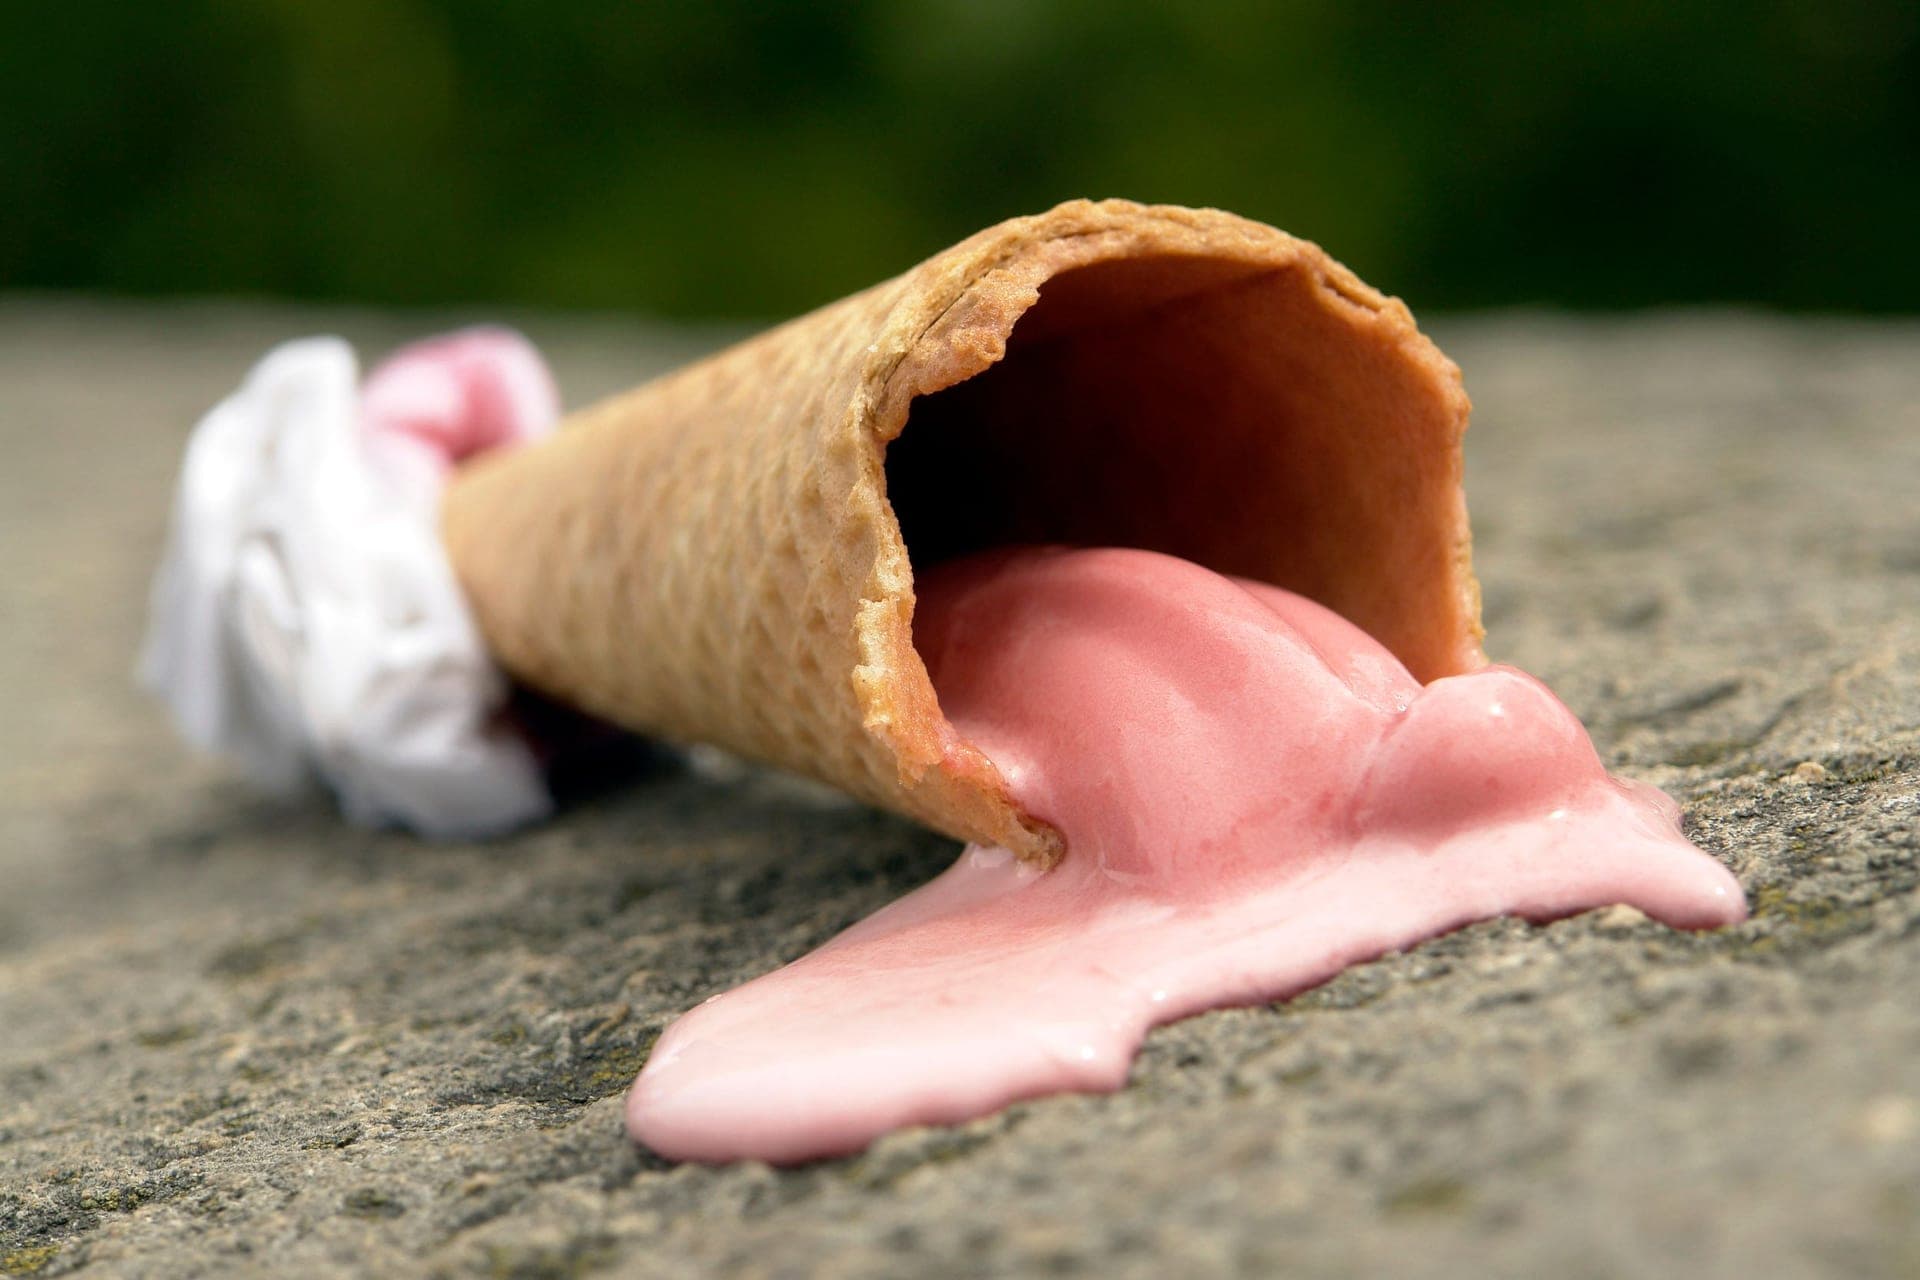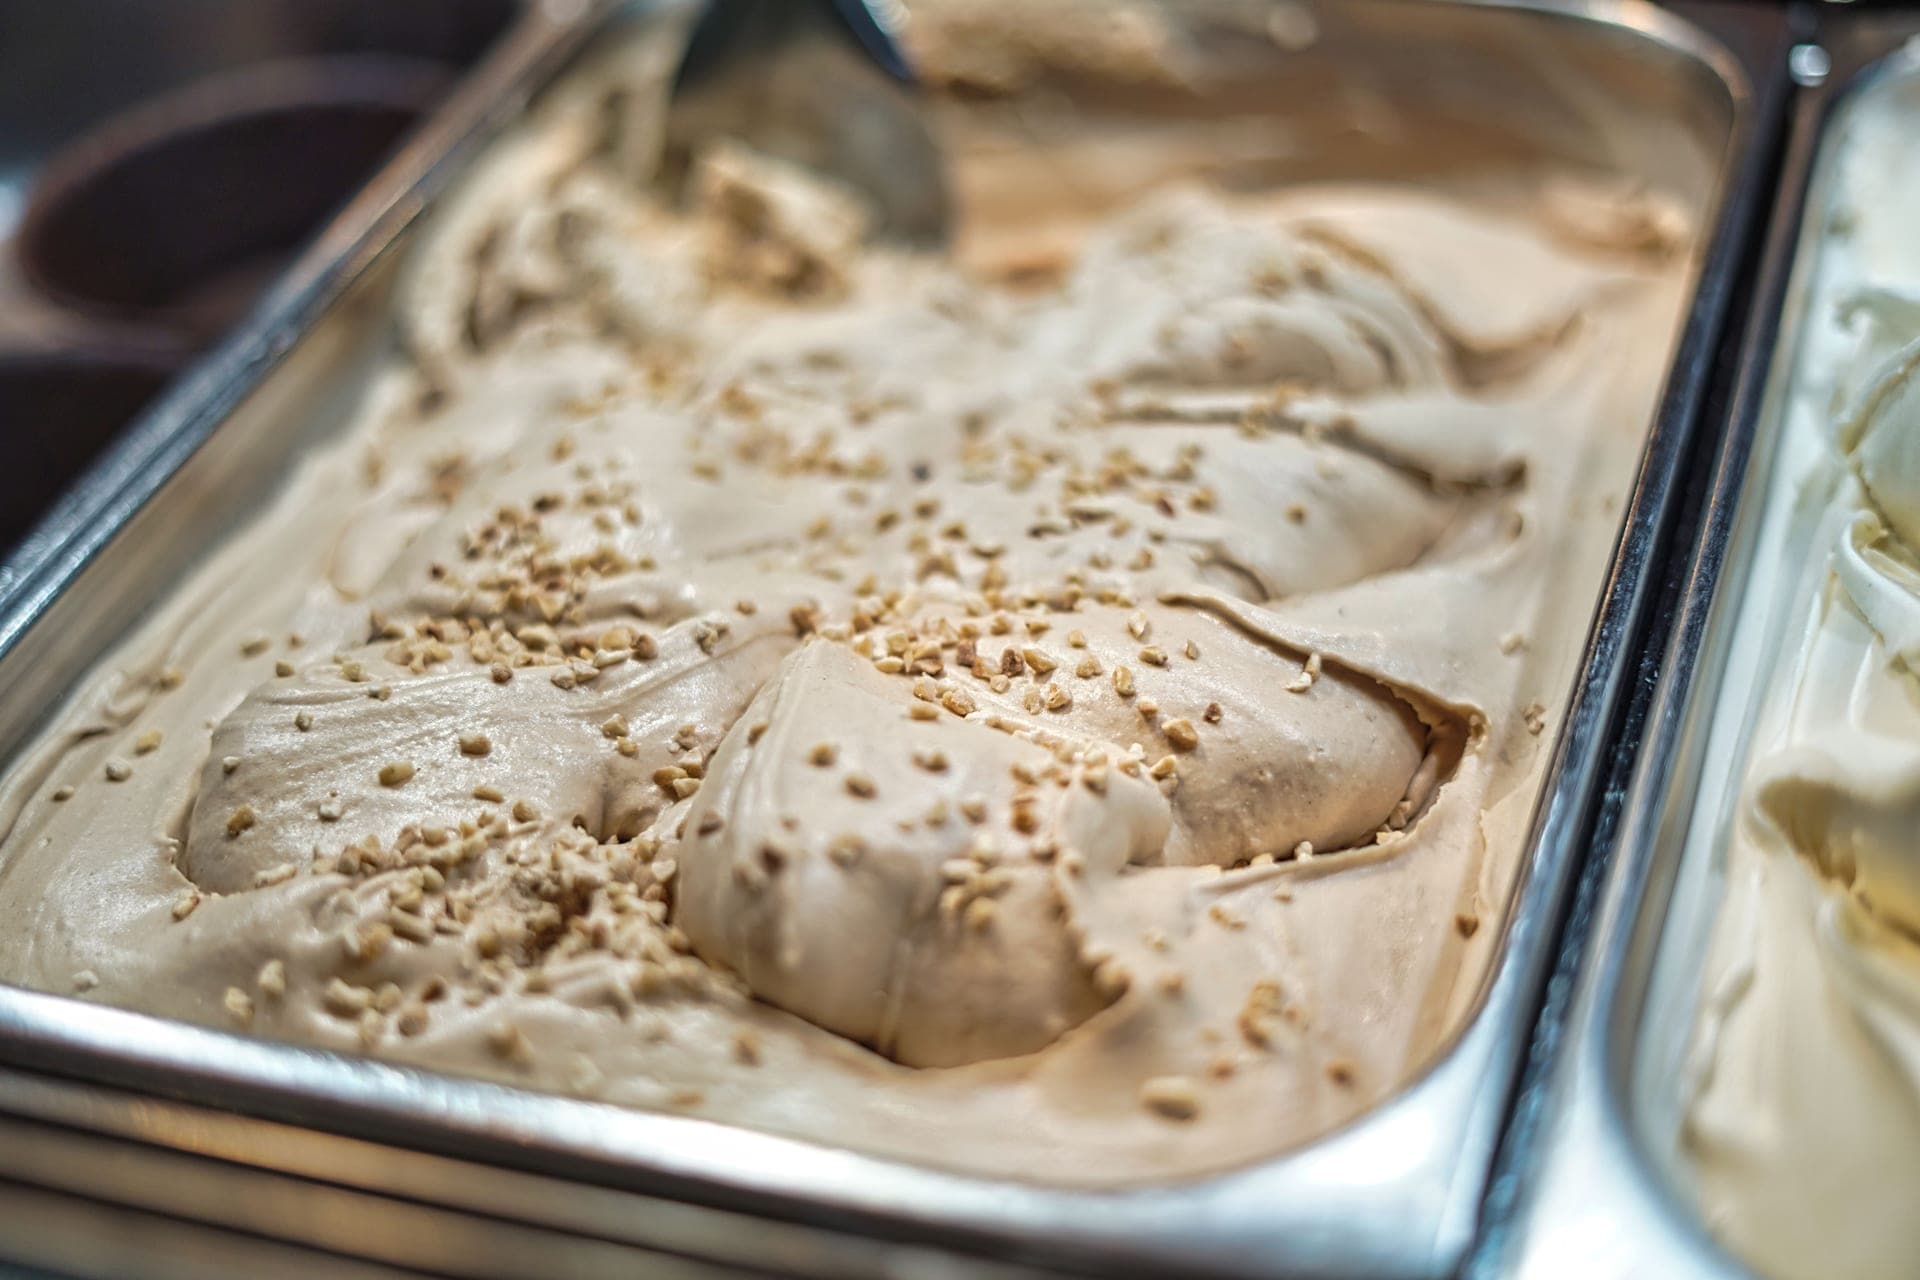
This is a Philadelphia-style base: no eggs, no stove, nothing to curdle. It is the right first batch in any machine because it removes every variable except the machine itself. Once you know what yours does with a known-good base, every later problem becomes diagnosable — you will know whether you changed the recipe or the machine is behaving differently.
The two rules that decide this
1. Chill the base for at least four hours. This is the single most common cause of failure. A freezer bowl holds a fixed amount of cold; spend it cooling a warm liquid and there is nothing left to freeze with.
2. Fill to two thirds, not to the brim. Ice cream expands as air churns into it. Overfill and it climbs out of the machine.
Why no eggs in a first batch
A custard base — the French style, with egg yolks cooked into the dairy — makes better ice cream. It is smoother, richer and more resistant to ice crystals, because the yolks emulsify and hold water in place.
It also involves a stove, a thermometer or a steady nerve, and a batch that can curdle. For a first attempt that adds a way to fail that has nothing to do with your machine. Make this one first; make the custard version second, once you know the machine works.
Why these proportions
Two parts cream to one part milk puts the fat content in the range where ice crystals stay small without the result being greasy. Fat is what makes homemade ice cream smooth, and it is the ingredient people cut first and regret.
Three quarters of a cup of sugar is not only sweetness — sugar lowers the freezing point, which is what keeps the finished ice cream scoopable rather than setting like a brick. Cut the sugar substantially and you get a harder, icier result; that mechanism is explained in why homemade ice cream is rock hard.
The pinch of salt does what salt does everywhere: it makes the vanilla taste more like vanilla.
Knowing when it is done
Not by the clock. The batch is finished when it looks like thick soft serve and the paddle leaves a ridge that holds its shape for a second before slumping. On a freezer-bowl machine that is usually around twenty minutes — Dream Scoops measured 15 to 20 on the Cuisinart ICE-21 — but a cold kitchen, a larger batch or a slightly warm base all move it.
Churning well past that point does not make it firmer. It warms the mixture by friction and beats in more air, which makes it foamier and less flavorful. Stop when it looks right. Full detail in how long to churn.
Variations that work on the first try
- Real vanilla bean: split one pod, scrape the seeds into the milk, and warm the milk gently to release them before chilling. Keep the extract as well; the two do different things.
- Coffee: steep two tablespoons of coarsely ground coffee in the warmed milk for 20 minutes, then strain.
- Mix-ins: add chopped chocolate, cookie pieces or toasted nuts in the last minute of churning, or fold them in by hand afterwards. Never at the start — they sink and they make the motor work.
- Dairy-free: replace the cream and milk with full-fat canned coconut milk. Not carton plant milk, which is mostly water; see the dairy-free guide.
Storing it
Press parchment or plastic directly onto the surface before putting the lid on. Air is what causes freezer burn and surface crystals, and a sheet against the ice cream removes it. Homemade ice cream has no commercial stabilizers, so it is genuinely best in the first two or three days — storing homemade ice cream covers how to slow the decline.