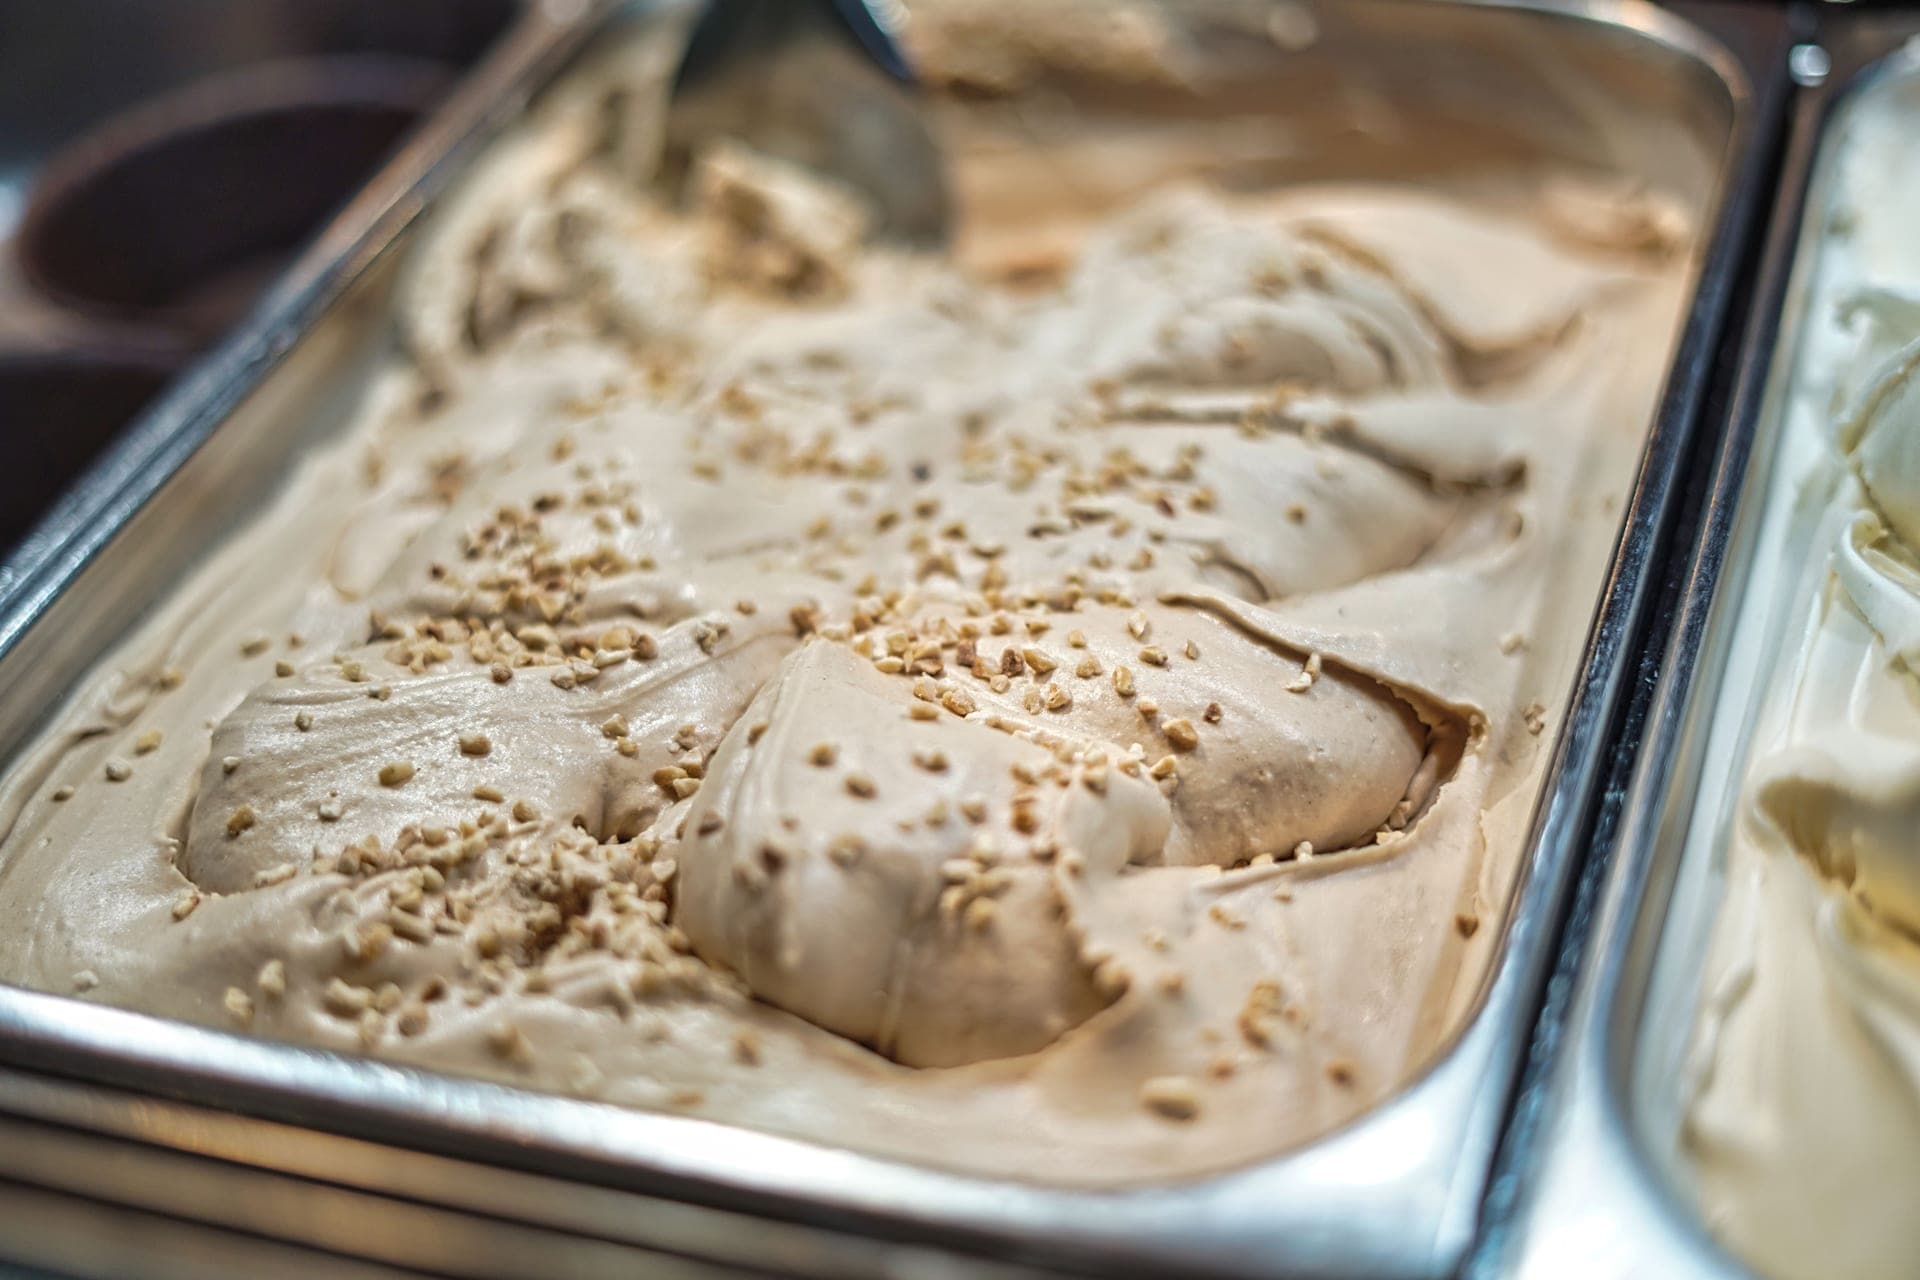
Homemade ice cream is at its best on day one and declines from there, faster than anything you buy. That is not a fault in your recipe. Commercial ice cream contains stabilizers — guar gum, locust bean gum, mono- and diglycerides — whose job is precisely to slow this down, and you do not have them.
You cannot stop the decline. You can slow it considerably, with four habits that cost nothing.
What actually goes wrong in the freezer
Recrystallization. The main enemy. Small ice crystals gradually merge into larger ones, especially through any warming and refreezing. Larger crystals are what you feel as grittiness. Every time the container warms slightly — because you opened the freezer, or left it on the counter for ten minutes — some ice melts and refreezes onto existing crystals, making them bigger.
Freezer burn. Ice sublimating off the surface and water vapor depositing back as frost, driven by air contact. It leaves a dry, crusty, off-tasting layer.
Odor absorption. Fat absorbs smells readily. Ice cream stored next to onions tastes of onions within days.
The four habits, in order of impact
1. Press parchment or plastic directly onto the surface before the lid goes on. Air contact is what causes freezer burn and surface crystals; removing the air gap removes most of the problem. This is the single highest-value thing on this page and it takes five seconds.
2. Use a shallow, wide container rather than a deep one. A shallow layer freezes through faster after any warming, which means less time in the temperature range where crystals grow.
3. Store it at the back, on the bottom shelf. The door is the warmest and most temperature-variable part of any freezer, and temperature swings are what drive recrystallization.
4. Do not let the tub warm up and go back. Scoop what you want and return it immediately. A container that sits on the counter for twenty minutes and goes back in will be measurably worse next time.
What to store it in
A shallow, wide, lidded container with as little headroom as possible. Metal chills faster than plastic and is slightly better for the first freeze, though it makes little difference once everything is at temperature. Glass works but is slow to chill and heavy.
The important variables are shallow, sealed and full. A half-empty container has a large air space above the ice cream, which is freezer burn waiting to happen. If you are down to the last third, transfer it to a smaller container.
How long it actually keeps
Days one to three: excellent. This is what you made it for.
Days four to seven: noticeably firmer and slightly grainier, still good.
Week two: texture has clearly declined. Still edible, and you will taste the difference.
Beyond that: safe for a long time, but no longer the thing you wanted. This is why frequent small batches suit homemade ice cream better than one big batch a month — and an argument for the pint-sized workflow a spin machine imposes.
Two categories decline faster than plain ice cream. Frozen yogurt has less fat protecting it, so a day or two is its window — see the frozen yogurt recipe. No-churn ice cream relies on a whipped structure that gradually collapses, so it is best within a few days too.
Serving it from the freezer
Homemade ice cream is harder than commercial because it contains less air — that is overrun, and it is worth understanding. So:
Let it sit out for five to ten minutes. This is not a workaround, it is how dense ice cream is served. Gelato shops hold product at a warmer temperature for exactly this reason.
Warm the scoop, not the tub. Dip it in hot water between scoops. That way you soften only the surface you are cutting rather than warming the whole container and triggering another round of recrystallization.
Do not microwave it. Even ten seconds melts the surface unevenly, and that melted layer refreezes into coarse crystals.
Building a batch that keeps better
If you routinely want ice cream to last a week, change the recipe rather than the storage.
- Use a custard base. Egg yolks bind water so less of it is free to recrystallize. This is the biggest single improvement — see custard versus Philadelphia.
- Keep the fat up. Fat interrupts crystal growth continuously, not just at freezing time.
- Keep the sugar as written. It holds water in solution and keeps the texture softer.
- Add a tablespoon of corn syrup or glucose per quart. Invert sugars resist crystallization more effectively than granulated sugar, which is why commercial recipes lean on them.
If your ice cream is already icy on day one rather than day six, storage is not the problem — see why homemade ice cream is icy.