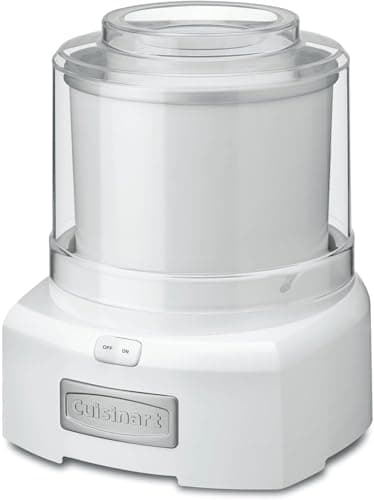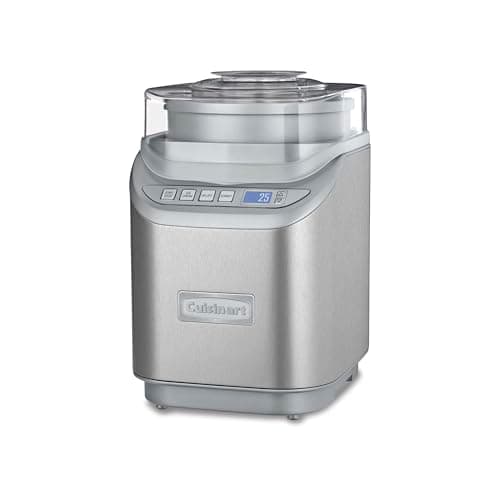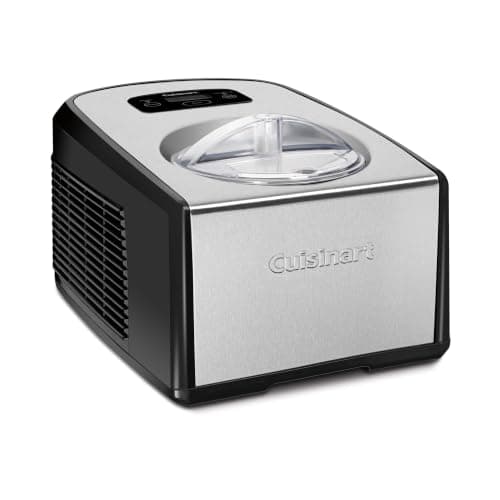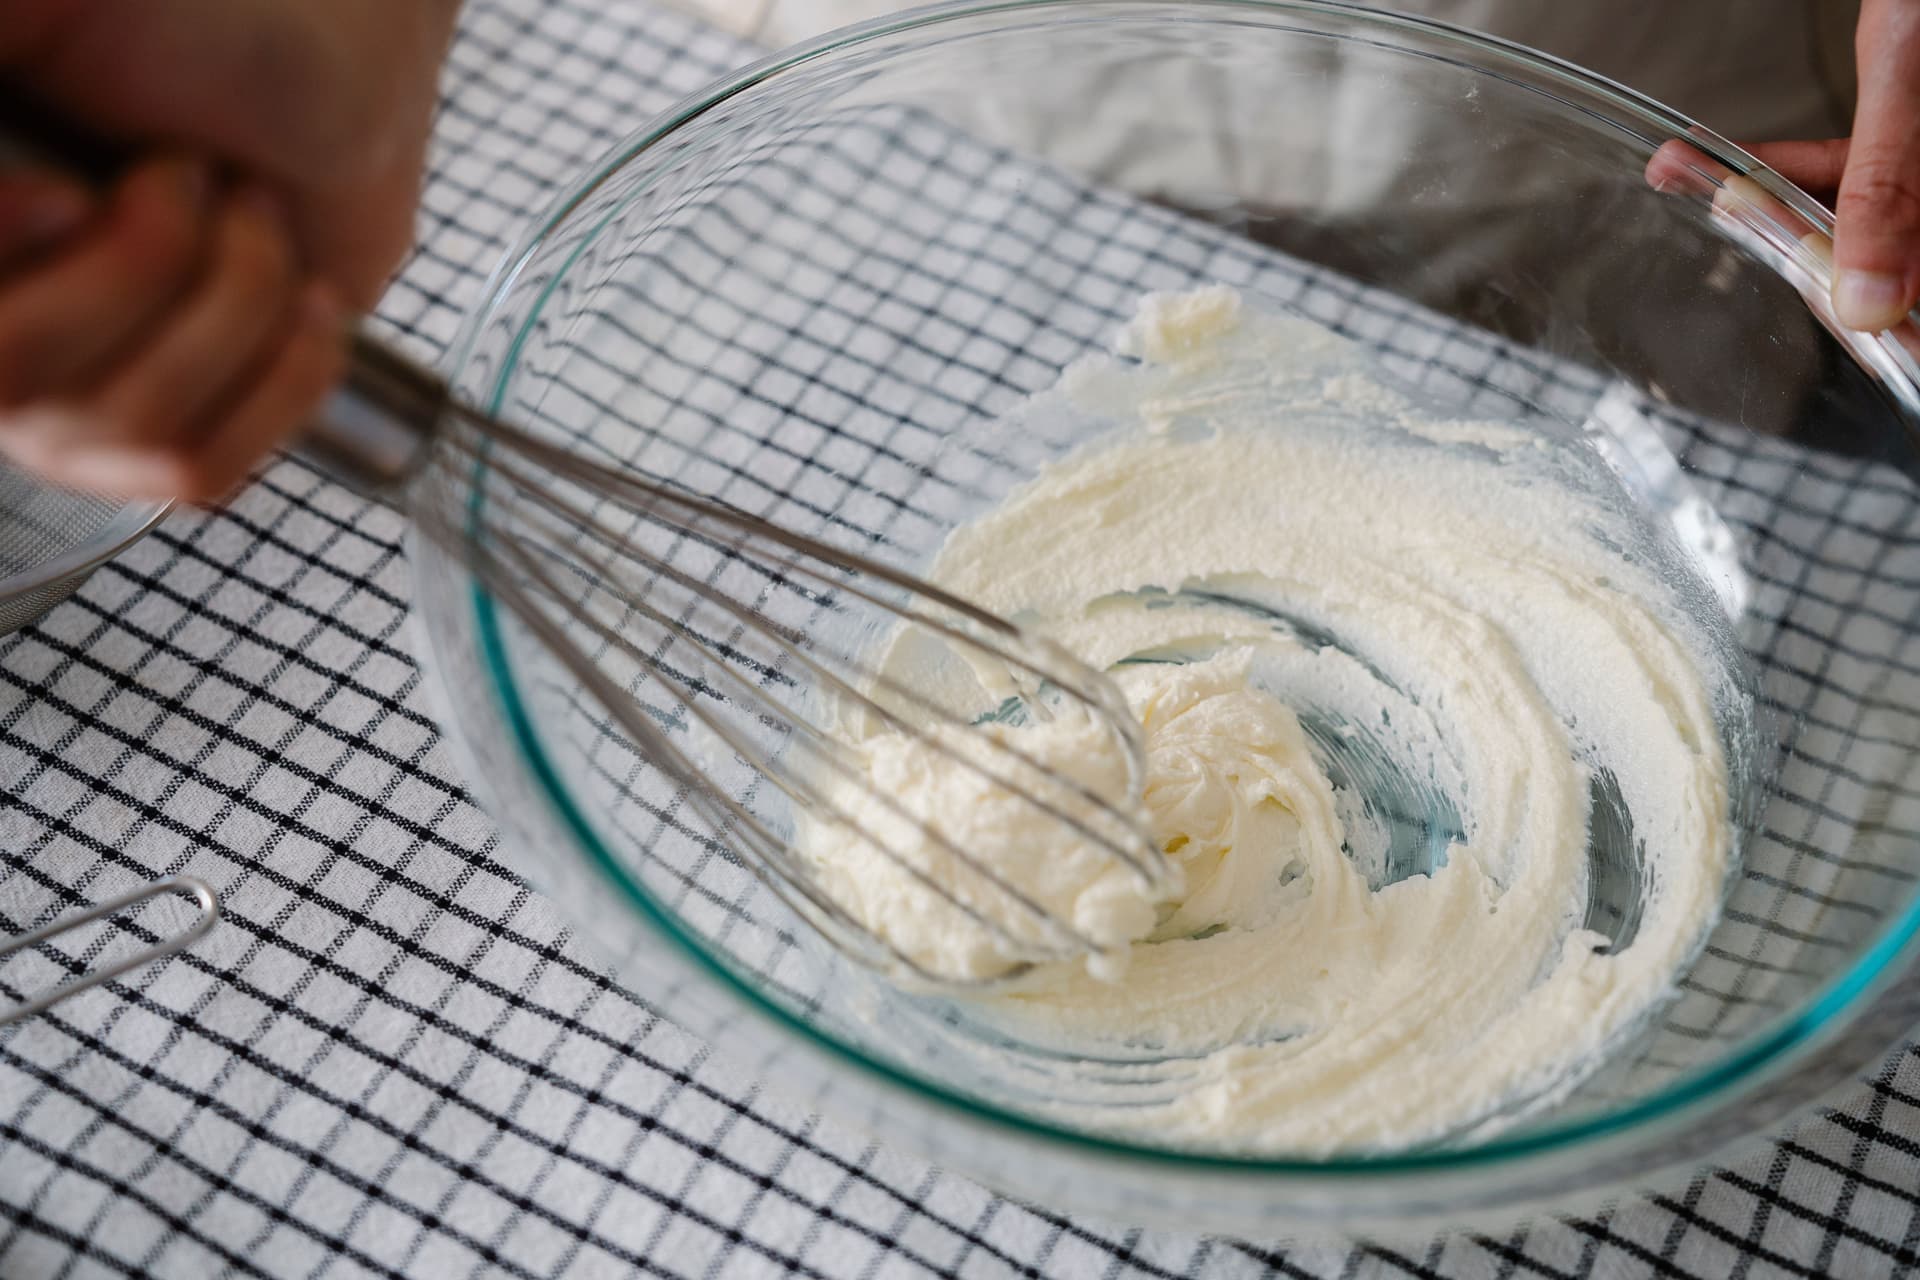
Chill the base in the refrigerator until it is properly cold, freeze the bowl for 16 to 24 hours if your machine uses one, start the paddle turning before you pour, fill no more than about two thirds, and churn until the mixture mounds on the paddle like thick soft serve — usually 20 to 30 minutes. Then freeze it for a few hours to harden. That is the entire sequence, and it is the same on a $70 canister machine and a $600 compressor.
Most first batches go wrong in one of three places: the base was not cold, the bowl was not cold enough, or the bowl was too full. Everything below is about those three.
Before you start: the two cold things
The base. An ice cream maker removes a fixed amount of heat. Every degree of warmth you pour in has to come out before freezing begins, so a base straight off the stove can consume most of a canister machine's stored cold before it starts to thicken. Refrigerate it until it is thoroughly cold — several hours, or overnight, which also improves texture for reasons covered in how long to chill an ice cream base.
The bowl. A freezer-bowl machine stores its cold in a gel-filled wall and spends it during the churn. Cuisinart specifies 16 to 24 hours; KitchenAid specifies at least 24 hours for its attachment. The bowl must be bone dry before it goes in, it must sit at the back of the freezer rather than in the door, and it is ready when you cannot hear liquid sloshing. The full detail is in how long to freeze an ice cream maker bowl.
The one instruction people skip
Start the machine, then pour. If you pour a cold base into a bowl at -20 F and then switch on, a layer freezes solid to the wall instantly and the paddle has to break it loose — which on a small motor means a stall, and in the finished ice cream means chunks of ice. Switch on first, pour in a steady stream, and nothing gets a chance to set.
The sequence, step by step
- Assemble cold. Take the bowl from the freezer and put the machine together immediately. A bowl sitting on the counter for ten minutes has already lost cold you paid a day for.
- Switch on, then pour. Paddle turning first, base second, in a steady stream.
- Fill to about two thirds. Ice cream expands as air is whipped in. Published optimal-fill figures run well under rated capacity for exactly this reason: Ice Cream Science puts the Cuisinart ICE-70's optimal fill around 900 ml against a 2-quart rating, and the Lello 4080's at 700 ml against 1.5 quarts.
- Leave it alone and watch, not the clock. 20 to 30 minutes is typical. Dream Scoops measured the ICE-21 churning in roughly 15 to 20 minutes; Ice Cream Science measured the ICE-70 at 28 minutes 30 seconds. The spread is why a number is not the instruction.
- Add mix-ins in the last two minutes. Chips, nuts and cookie pieces go in at the end, chilled, so they distribute without being pulverized.
- Harden in the freezer. It leaves the machine at soft-serve consistency. Transfer it to a shallow airtight container, press the surface flat, and give it two to four hours.
How to tell when it is done
It is finished when the mixture has doubled in bulk, mounds on the paddle rather than running off it, and holds the ridges the paddle cuts into it. That is thick soft serve, and it is as far as any home machine goes — no ice cream maker produces scoopable ice cream. Expecting it to is the most common disappointment of a first batch.
The failure mode in the other direction is real too. Churn far past that point and you work the fat until it starts to separate, giving a grainy, slightly buttery texture. If the motor is laboring and the paddle has stopped cutting ridges, stop. Longer discussion in how long to churn ice cream and grainy or crumbly ice cream.
How the steps change by machine type
- Freezer bowl. The sequence above exactly. One batch per bowl, then 16 to 24 hours before the next. A spare bowl is the cheap fix.
- Compressor. Skip the pre-freeze entirely. Many models want 5 to 10 minutes of pre-cooling with the machine running empty before you pour, and then you can churn back-to-back batches all evening.
- Spin machine. A different workflow, not a different recipe. Freeze the pint solid for 24 hours, then spin for a couple of minutes. If the first spin comes out crumbly, re-spin — that is normal and the machine has a program for it. See how a spin machine works.
- Ice-and-salt bucket. No freezer involvement. Pack ice and rock salt in alternating layers around the canister at roughly one part salt to six parts ice, then churn 20 to 40 minutes. Ratios in how much salt to use.
- Stand mixer attachment. Same as a freezer bowl, but KitchenAid specifies at least 24 hours of pre-freeze and some tilt-head models need the adapter ring.
Five mistakes worth avoiding on the first batch
A warm base. The single biggest cause of a batch that never thickens. An under-frozen bowl. If you can hear liquid in the wall, it is not ready. Over-filling. It climbs out, and an over-full bowl freezes more slowly because there is more mixture per unit of stored cold. Opening the lid repeatedly. Every look lets warm air in. Skipping the hardening step and then deciding the machine does not work.
If your first batch did not thicken at all, work through ice cream maker not freezing; if it came out icy, that is why homemade ice cream is icy. For a base to actually run through this sequence, start with the no-fail vanilla, which works in any machine.
Cleaning, and the part that affects the next batch
Wash and dry the bowl completely before it goes back into the freezer. A bowl put away damp grows frost on the inside wall, and frost is an insulating layer between the cold and your next base. Most paddles and lids are dishwasher safe; most gel-filled bowls are not, and should never go in hot water or a dishwasher, which can damage the sealed coolant wall. Machine-by-machine instructions are in how to clean an ice cream maker.